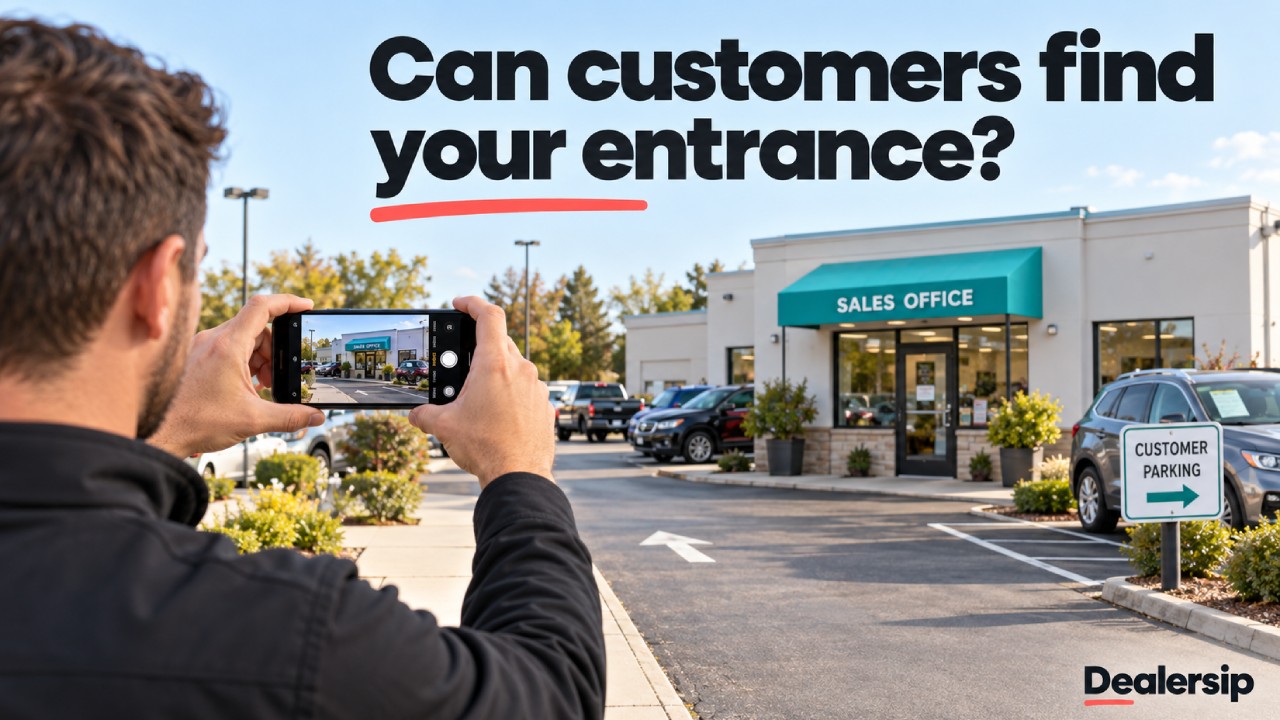
A showroom portrait can identify your dealership while leaving a service customer at the wrong driveway. Your facility photos should explain how to reach the department, not simply show the building.
If you handle customer directions, photograph each distinct arrival route. A newcomer may worry about blocking a working lane or arriving late after circling the lot. Show where they should go before they visit.
1. Walk each route and record the choices
Ask reception which entrance causes the most confusion. Walk that route from the street to the customer’s meeting point, then cover sales and service wherever their paths differ.
Record each choice in a phone note, along with the sign or lasting landmark that identifies it. Look for an entrance that could be mistaken for an exit and doors concealed by parked vehicles. Where visitors have no reliable cue, flag the need for signage.
Confirm the arrival procedure with your service manager: should customers park, or stay in their vehicles for check-in? Trace the walking route from accessible parking as well, including any separate entrance customers need to use.
2. Shoot the decisions in arrival order
Google’s exterior-photo guidance recommends covering the directions from which customers approach. Frame the entrance they need to recognize from each approach.
Take every photograph while stationary in a safe pedestrian position, outside roadways and active service lanes. If an approach cannot be photographed safely, describe it in words and photograph the next useful landmark.
Use this shot plan, combining frames where one photograph answers both questions:
- Street approach: Include the dealership identifier and driveway together. Add the opposite approach when its view differs substantially.
- Driveway opening: Include its sign and neighboring features. A sign close-up alone leaves the turning point unclear.
- Choice inside the lot: Show the junction separating sales and service, with its directional sign and the lane customers should follow.
- Parking or check-in: Show the designated customer spaces or service receiving lane, including the marker that identifies the stopping place.
- Final destination: Show the customer door from the walking approach. For drive-in service, show where to stop and await an advisor.
Keep the phone level, signs legible and the viewpoint near eye level. Use building corners and permanent signs as landmarks. If customers arrive before sunrise, add a view showing the entrance under its normal lighting.
A three-frame example for a small lot
A small independent lot may need only three photographs: its driveway, the customer parking area and the office entrance. The illustrated sequence below uses a made-up property to show the framing and captions to reproduce with a phone.
3. Give each photograph an instruction
Put the destination above each sequence, using a heading such as “Arriving for service.” Write captions that connect an action to a visible landmark. Establish the visitor’s approach before using “left” or “right.”
Publish captions as ordinary webpage text so the directions remain available without the images. The World Wide Web Consortium advises providing text alternatives that convey an informative image’s essential meaning. Ask your website editor to include the useful entrance or landmark information in those alternatives.
4. Publish beside the relevant directions
Place the sales sequence alongside sales directions and the service sequence with appointment information. Display the photographs in route order, with their captions immediately beneath them.
Send customers directly to the relevant page from confirmations and reminders. Label the link clearly, such as “See the service arrival route,” and include the department’s phone number. Ask customers to review the route before driving.
Add current exterior shots to your Google Business Profile too. However, Google’s photo-management guidance says your chosen cover photograph may not appear first. Keep the complete sequence on your website rather than relying on profile-photo order or an old social post.
5. Test with someone who does not know the entrance
Have an unfamiliar visitor open the published page on a phone. Ask them to identify the driveway they expect to use and their final stopping point. Check that the important signs remain readable at the displayed image size.
Then let them follow the route without coaching. Record any hesitation and revise the photograph or caption covering that decision. If they recognize the building but miss the driveway, widen the approach view.
The test passes when they reach the intended destination without an employee supplying missing directions. After publication, ask reception to record where callers get confused so you can revisit recurring trouble spots.
6. Replace directions whenever access changes
Give one person responsibility for the arrival pages. Ask reception and the service manager to notify them about access changes, and record the last inspection date in the route note.
Walk the route again after construction, new signage or a move. During temporary work, clearly identify the temporary entrance. Remove outdated route images from placements you control; a new photograph does not cancel contradictory instructions elsewhere.
Update the existing arrival page where possible, preserving the destination of links in earlier appointment messages. Open those links after publishing to confirm they reach the revised directions.
Start with the entrance reception gets asked about most. Walk it before taking pictures, and photograph the first decision that leaves a newcomer guessing.