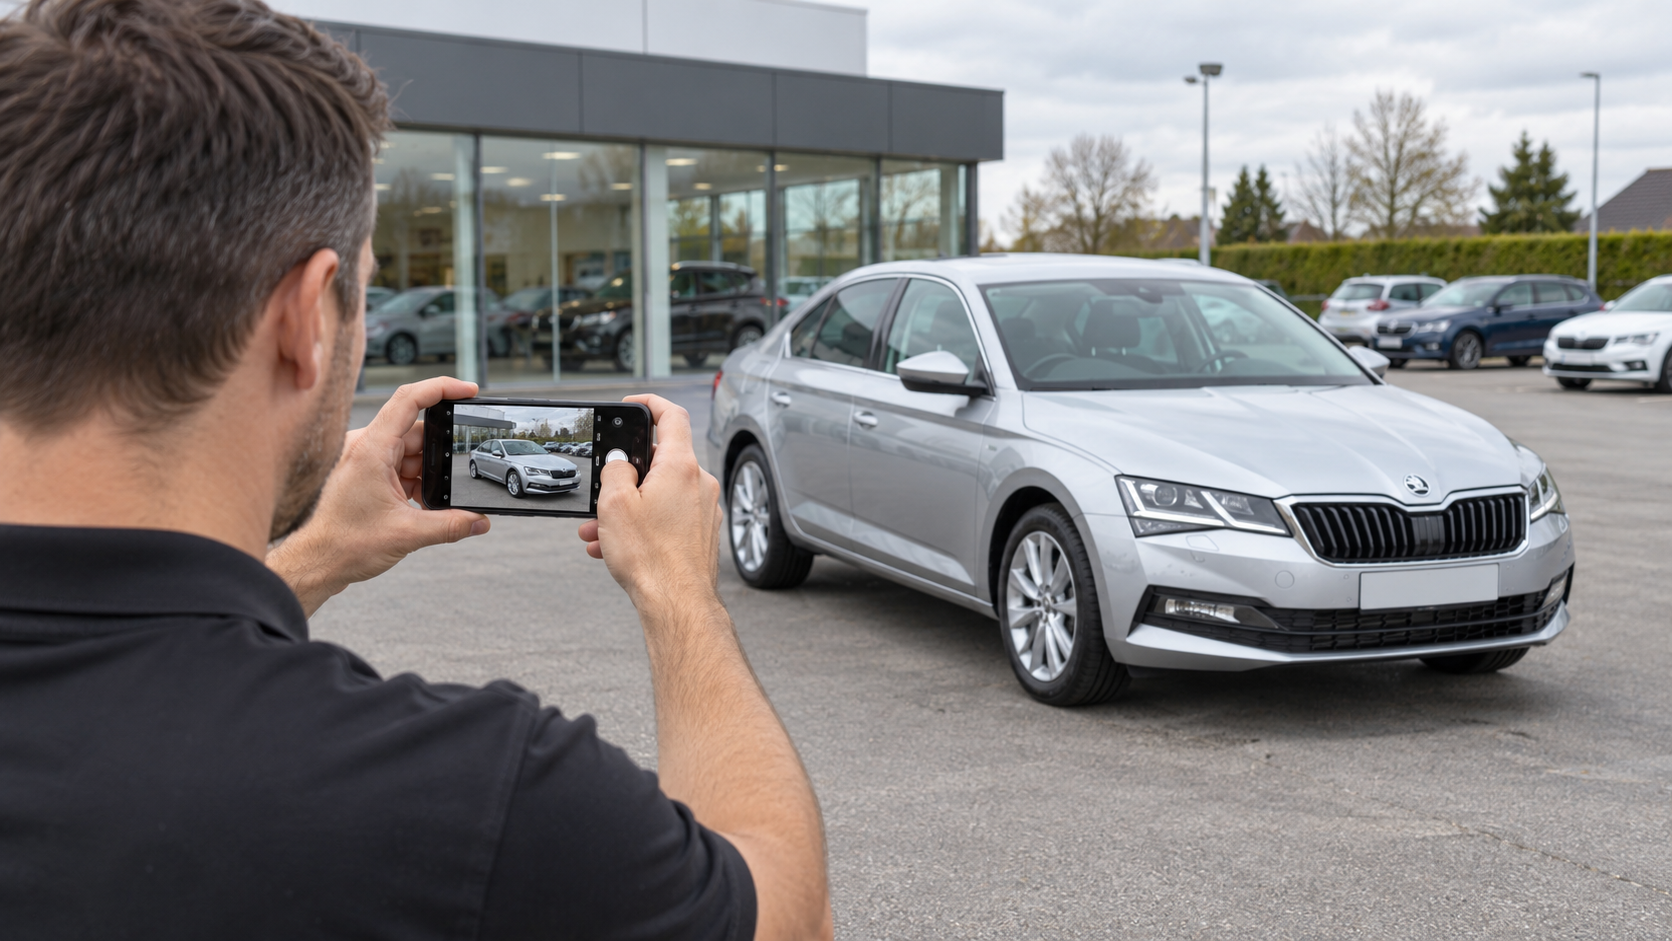
A new camera can feel like the obvious answer when your inventory photos look disappointing. But the problem might be harsh sunlight, missing close-ups or a website that reduces image quality during upload. Buying equipment before identifying the problem can leave you with the same weak gallery and more work.
For everyday vehicle listings, start with the result buyers see. A clear, consistent and complete gallery is the standard. The vehicle’s asking price alone does not tell you which device you need.
What should buyers be able to see?
Open one of your listings on a phone and a desktop. Check the largest image view available, not just the thumbnails. Ask whether the gallery answers these questions:
- What does the car look like? The whole vehicle is visible, the colour looks believable, and glare does not hide important areas.
- What condition is it in? Seat wear, scratches and other visible defects are clear enough to assess.
- What equipment does it have? Important controls and accessories have their own photographs when a wide shot does not show them clearly.
- Does the gallery look consistent? Framing, brightness and colour remain reasonably steady from one image to the next.
Clear information and good presentation both matter. A gallery can include every feature and still feel carelessly assembled if the colour changes between shots or bumpers are cropped. A phone can meet this standard; a dedicated camera does not guarantee it.
Fix the shooting conditions first
Start with a clean lens. Fingerprints are an easy problem to overlook, and Apple recommends a microfiber cloth when cleaning camera lenses to address blurry photographs.
Then look at the light. Try an evenly lit position or a different time of day before deciding that your phone cannot handle the car. Walk around the vehicle and check whether reflections hide the bodywork. Changing position can be more useful than taking a sharper photograph of the same glare.
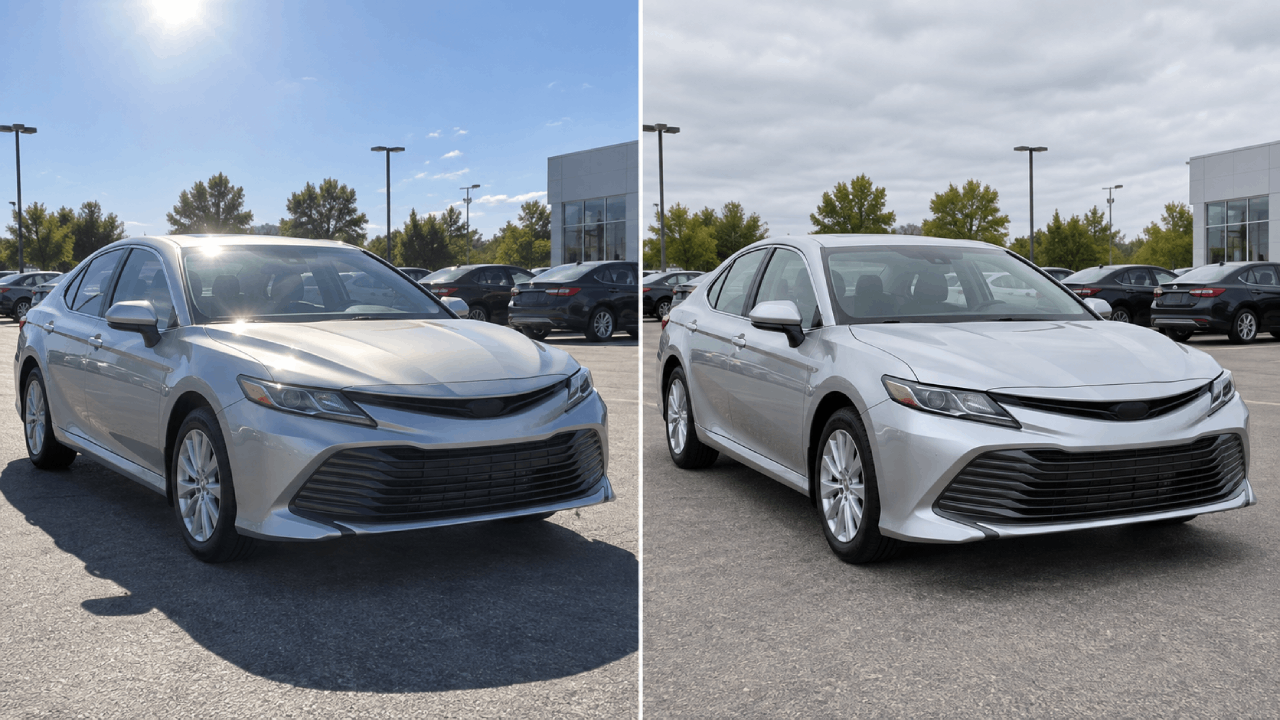
Keep your shooting height and framing consistent. Leave room around the vehicle, and check that the wheels and bumpers are fully inside the frame. For a small control or scratch, take a separate close-up instead of relying on a crop from a whole-car photograph.
If reflections remain the main problem, a polarizing filter may be worth testing with a compatible setup. It can reduce some reflections, but it also reduces incoming light. Nikon explains both the benefit and the trade-off. Check the effect on the actual vehicle before buying one.
Check dark interiors without hiding their condition
A bright windscreen and a dark seat can be difficult to capture together. Review the seat itself: can buyers see the fabric, seams and worn areas?
Phone processing can help with dark scenes. Adobe Research explains how phones combine multiple frames to reduce noise, but it also describes how strong smoothing and sharpening can make photographs look unnatural. Judge the visible texture, not brightness alone.
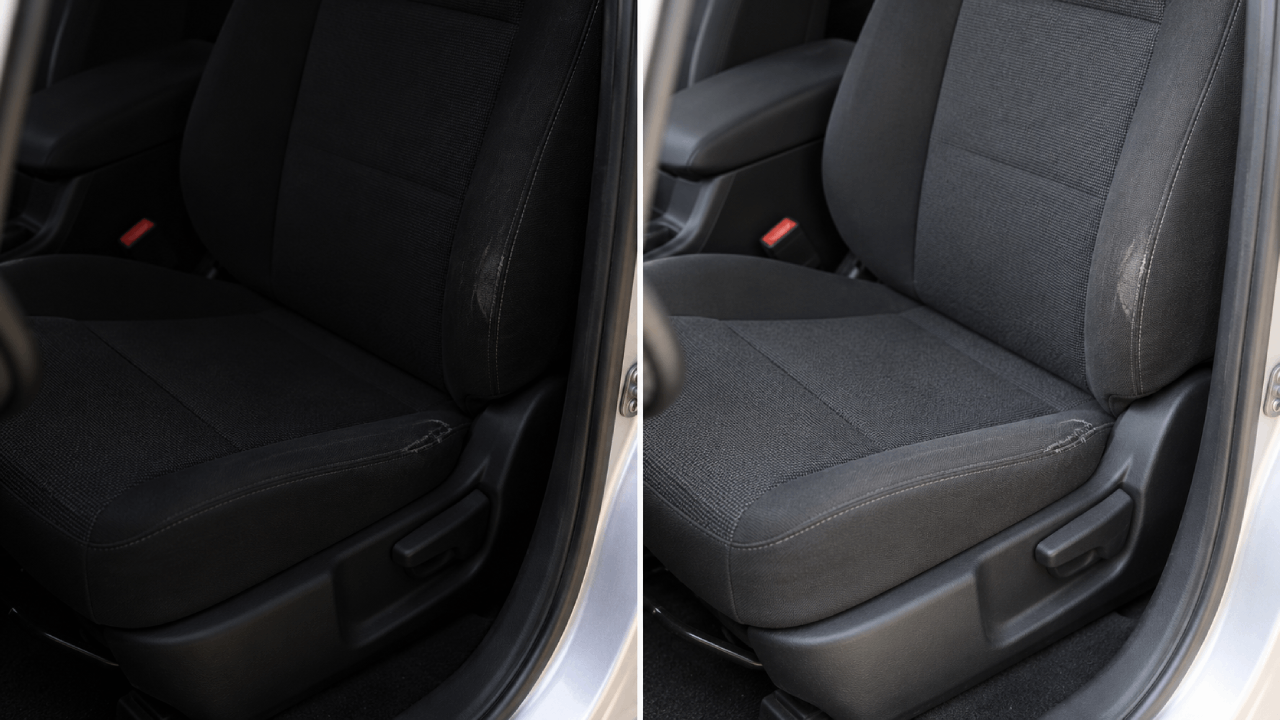
Try more even light and a separate seat photograph before changing equipment. Keep wear visible when adjusting brightness or colour. An attractive inventory photo should still represent the car the buyer will see in person.
Check what happens after upload
Compare the original photograph with the version in the live listing. If it looks sharp on your device but soft on the website, investigate the upload and display settings before replacing the camera.
Check whether the upload reduces the image dimensions too far, applies heavy compression, or displays a small thumbnail in the enlarged gallery. Repeat the check on each marketplace you use because the published results may differ.
JPEG compression can remove fine detail. A better original may help, but it will not necessarily solve a problem in the way the website processes or displays it.
Run a small test before buying a camera
If the phone still leaves a clear problem, borrow or rent the camera and lens you are considering. Use one vehicle and photograph these three subjects with both devices:
| Test shot | What to compare after upload |
|---|---|
| Full exterior | Believable colour, clear body contours, controlled reflections and consistent framing. |
| Shaded seat | Visible fabric texture, seams and wear without an artificial processed look. |
| Small detail | A clearly identifiable control, accessory or defect at the gallery’s largest viewing size. |
Keep the lighting and framing as similar as possible, give each device a fair attempt, and send both sets through your normal upload process. Have the person who usually photographs inventory do the test.
Write down the improvement in plain language. “The seat wear is clearer” or “the colour stays more consistent” is a useful result. A slightly sharper patch of pavement is unlikely to justify a new workflow.
The illustrations in this article explain what to inspect. They do not establish how a particular phone or camera performs. Your own uploaded photographs are the evidence for that decision.
Count the work from shooting to publication
Time the whole job: taking the photographs, transferring them, making corrections, matching them to the right stock number and checking the published gallery.
A phone may simplify the process when staff can upload directly to inventory. A dedicated camera may earn its place if it delivers more consistent results or reduces reshoots. Test your actual transfer method rather than assuming either device is faster.
You do not have to build a RAW editing workflow around a dedicated camera. Canon explains the difference between RAW capture and finished JPEG files. Start with the simplest output that meets your needs. If editing is necessary to achieve the improvement, include that time, software and training in the cost.
Include the lens, accessories and any specialist help too. The relevant cost is the setup your team will use each week.
When should you keep the phone?
Keep it when the published gallery clearly shows the vehicle, presents it consistently and takes a manageable amount of staff time to produce. That can be a sound choice for an expensive vehicle as well as an affordable one.
Consider a dedicated camera when your test shows a meaningful improvement that survives upload and can be repeated during an ordinary working day. Buy it for the problem it solves: clearer condition photos, more consistent presentation or less rework.
Before spending money, be able to finish this sentence: “Our current photos fall short here, and this setup fixes it.”